Network Management enables you to create sites and assign players to that site. This step is necessary before players can be assigned to schedules and be sent content.
A customer can have multiple sites within their network to group players, if needed.
See Creating a New Network Account
See Deleting a Network Account
![]()
Accessing Network Sites
Click the System Management/Network Management tab to access the Network Management page.

In this window, you can do the following:
■ Click Create New Site to create a new network site.
■ Click Edit to edit the site.
■ Click Delete to permanently delete the site. This will only delete the grouping of Players not the Players themselves.
Most tabs in RoninCast
display a Folder Navigator icon  providing the opportunity to access the folders you have created in your
RoninCast system. See Using Folder
Management for information on creating new folders.
providing the opportunity to access the folders you have created in your
RoninCast system. See Using Folder
Management for information on creating new folders.
To use the Folder Navigator:
1. Click the Folder Navigator icon . The
Root of the folders displays.

2. Click the arrow to expand the Root.
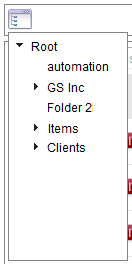
3. Select a folder. A drop-down list appears next to the Root drop-down box.

4. Click GO to open the list or to present another sub-folder drop-down list.
Creating a New Network Account
To add a new site to the network and assign its players, do the following:
1. Click the System Management/Network Management tabs.
2. In the Network Management page, click the Create New Site link.
The following window appears:
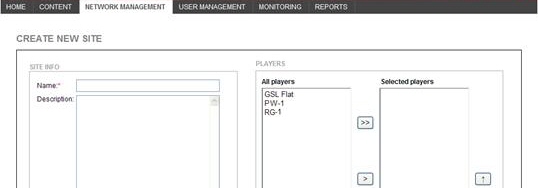
3. Enter a Name for the site and an optional Description of the site.
4. The All players list on the left shows the players in your site. Move the players you want to the Selected players list on the right.
> Moves the selected player to the Selected players list
>> Moves all players to the Selected players list
< Moves the selected player out of the Selected players list
<< Moves all players out of the Selected players list
5. Click Save.
1. In the Network Management page, click the Edit link next to the site you want to edit.
The following window appears:
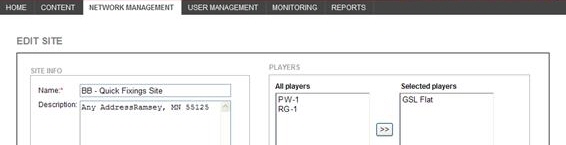
2. Edit the field(s) and assign or unassign players as necessary.
3. Click Save.
1. In the Network Management window, click the Delete link to delete a site.
The following dialog appears:
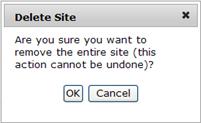
2. Click OK to delete the site.